Recently I've been seeing
tons of DIY tutorials for t-shirt printing on Pinterest. A pretty popular
DIY printing technique is the freezer paper method and I wanted to give it a
try for myself. I wanted to really see how easy it was to do at home
because there are tons of designs I've always wanted to have printed on a
t-shirt, but it would be far too costly to get a single t-shirt custom printed
at a store.
For example, I saw this French Bulldog Print and knew instantly that I wanted something similar to it on a shirt. I ended up redesigning the print in photoshop for this DIY project.
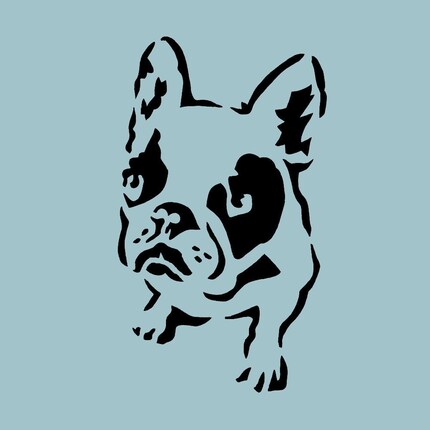
And after testing out the freezer paper method for myself, I have to say that this DIY project is super easy, requires very few items, doesn't take long to do, and is very affordable! Overall, this DIY project took a little over an hour to complete from start to finish and costs me $15-20 CAD max. In the future when I make personalized tees for myself and friends/family, it'll cost me even less since I now have all the supplies needed on hand!
If you'd like to personalize your own tees, here's how I did it myself.
Items You'll Need:
- A plain cotton t-shirt
- Reynolds Freezer Paper (in Canada you can purchase it at Wholefoods
or Metro)
- Soft Fabric Paint (I purchased mine at Michael's using their weekly
40% off coupon)
- Paint brush
- Scissors or a x-acto knife
- Printer (not shown in picture)
- Iron (not shown in picture)

Getting Started:
Step 1 - Measure & cut the
freezer paper into 8.5 x 11 inch sheet (regular paper size) so it will fit into
your printer
Step 2 - Print your custom t-shirt
design on the freezer paper sheet. Be sure not to print on the plastic-coated
side of the freezer paper since the ink will smudge.
Step 3 - Grab your scissor
or x-acto knife and cut out your design. In my case, I just cut out all
the black portions as shown in the picture. This may take some patience
here depending on how intricate your design is.

Step 4 - Place the cut-out freezer paper where you want it on your tee. Be sure to place the plastic-coated side down against your t-shirt (the plastic coat is what will adhere to the fabric when it's heated).
Step 5 - Set your iron on medium to high heat and carefully iron the freezer paper onto your tee. Be sure not to have any bends or creases in the freezer paper when you iron it on your tee as this may cause paint to smudge in unwanted places and wreck your design.

Step 6 - With your paint and paint brush carefully start painting the cut-out portions in even strokes. Be sure to let the first paint coat dry before your apply your second coat for a nice deep colour.

Here's what it looks like when you're done painting.

Step 7 - Once the paint has dried, slowly peel away the freezer paper to reveal your custom print on the tee. And that's all folks, you're all done now!!

And presto, you've now got your own
personalized tee to pair with your favourite items to make a great outfit!


If you like my graphic french bulldog print, just comment below and I'll send you the download link. Thanks and I hope you enjoyed reading this post.
No comments:
Post a Comment